Breeding canaries is an enjoyable hobby that has many different levels of involvement depending on your motives. Regardless of whether you are doing this for fun, for show, or maybe a combination of both, the art of breeding takes patience, time, and organization. The complexity of how to actually breed and the many variations within the process, makes it nearly impossible to cover every step and potential outcome that could exist. Below are a few tips and pointers from Fancy Canary to help get you started.

Cage and Equipment
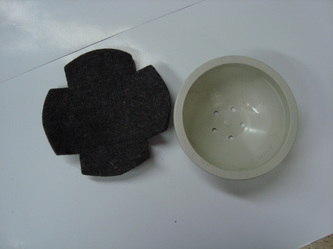
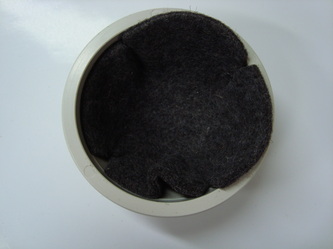
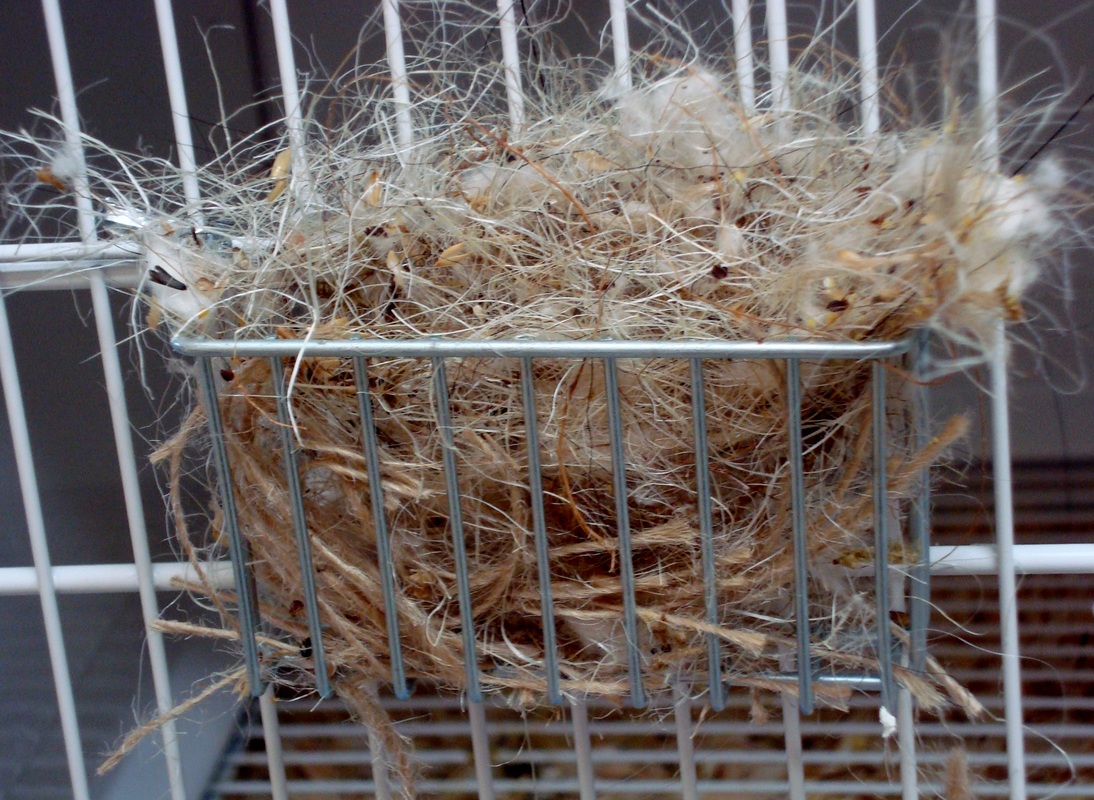
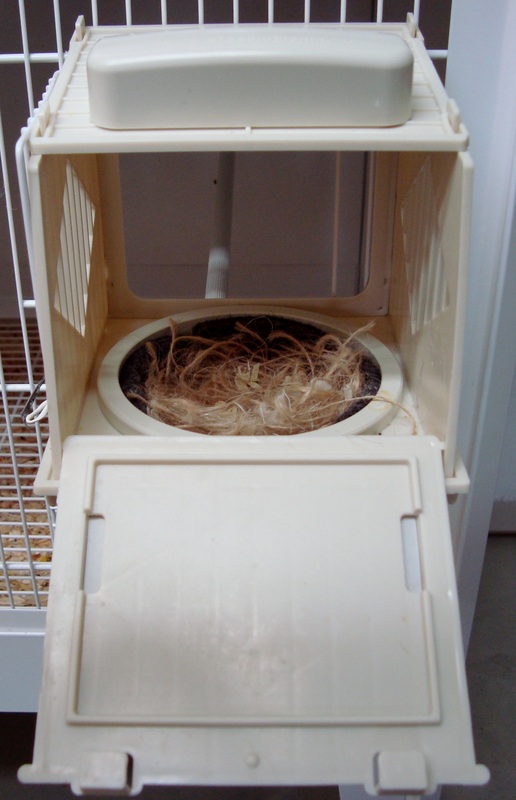
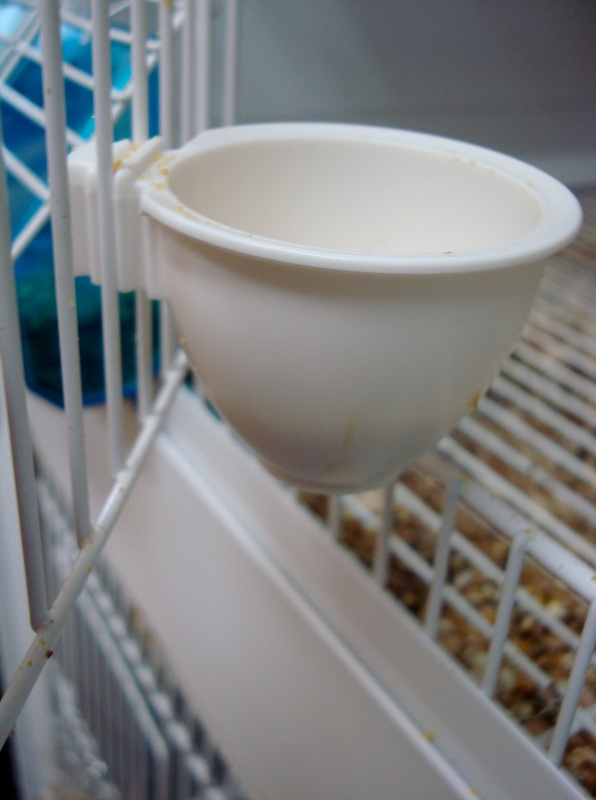
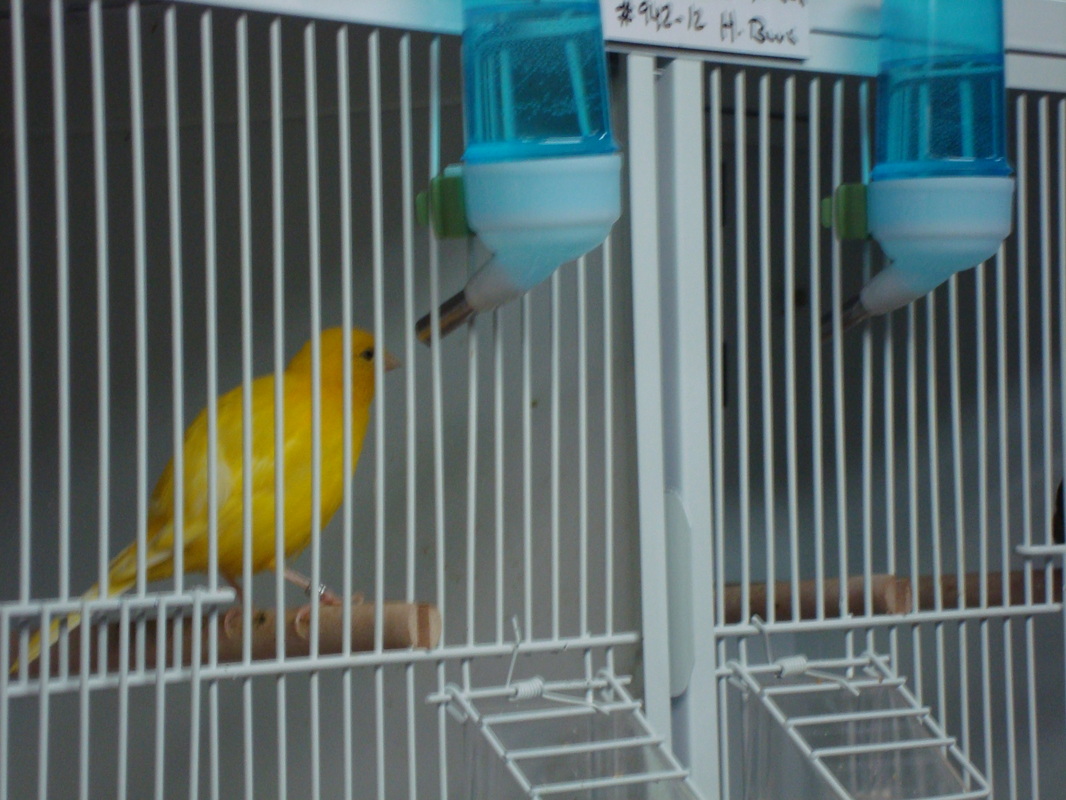
The double breeding cage is a much easier way to go about breeding your hens and cocks. These cages are equiped with a wire and solid divider. However two separate cages can be used and still achieve the same outcome with just a little more effort. Flight cages are used to allow the hens room to strenghten themselves prior to breeding. Nest pans come in many varieties and could be mounted outside of your cage for easily accessing the nest with less disturbance. Nest liners are taped inside of the nest pan incase your hen does not build a suitable nest. Nest material consists of shredded burlap, cotton, jute, white paper towels/tissue, etc. These materials are sold pre-mixed as a convenient time saver or can be collected and shredded by hand. Perches should be firmly set in the cage as loose perches could result in unfertile eggs. Some breeders use dummy eggs. These are swaped out with the hens real egg each morning it is layed and on the third day they are returned to allow all the eggs to hatch at the same time. Giving the babies a better chance of survival being that they are all of the same age. Treat cups are provided to feed egg food during rearing of the chicks.
The double breeding cage is a much easier way to go about breeding your hens and cocks. These cages are equiped with a wire and solid divider. However two separate cages can be used and still achieve the same outcome with just a little more effort. Flight cages are used to allow the hens room to strenghten themselves prior to breeding. Nest pans come in many varieties and could be mounted outside of your cage for easily accessing the nest with less disturbance. Nest liners are taped inside of the nest pan incase your hen does not build a suitable nest. Nest material consists of shredded burlap, cotton, jute, white paper towels/tissue, etc. These materials are sold pre-mixed as a convenient time saver or can be collected and shredded by hand. Perches should be firmly set in the cage as loose perches could result in unfertile eggs. Some breeders use dummy eggs. These are swaped out with the hens real egg each morning it is layed and on the third day they are returned to allow all the eggs to hatch at the same time. Giving the babies a better chance of survival being that they are all of the same age. Treat cups are provided to feed egg food during rearing of the chicks.
Lighting
Canaries are photosensitive and require a certain amount of
daylight hours to become fertile. In Spring, the hours of daylight stretch
between 12-13 hours a day. Typically this is when most canaries are ready to
begin breeding. Artificial lighting and heating can be used to simulate the
sunrise and sunset scheduled needed to breed. If artificial lighting is used, full
spectrum bulbs, provide the canaries with the benefits of natural light. It is
very important that you maintain a strict lighting schedule that incorporates
the gradual increase/decrease of “sunlight” according to Mother Nature’s organic
sunrise/sunset routine.
Diet
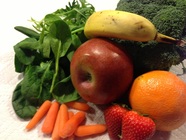
Cuttlebone is an excellent source of calcium. Hens need the calcium to help produce durable eggs.
Vegetables and fruits help to avoid any deficiencies during breeding and provide the same benefits to the birds, as they do to humans. For more information regarding a nutritional diet please click to the image to the left.
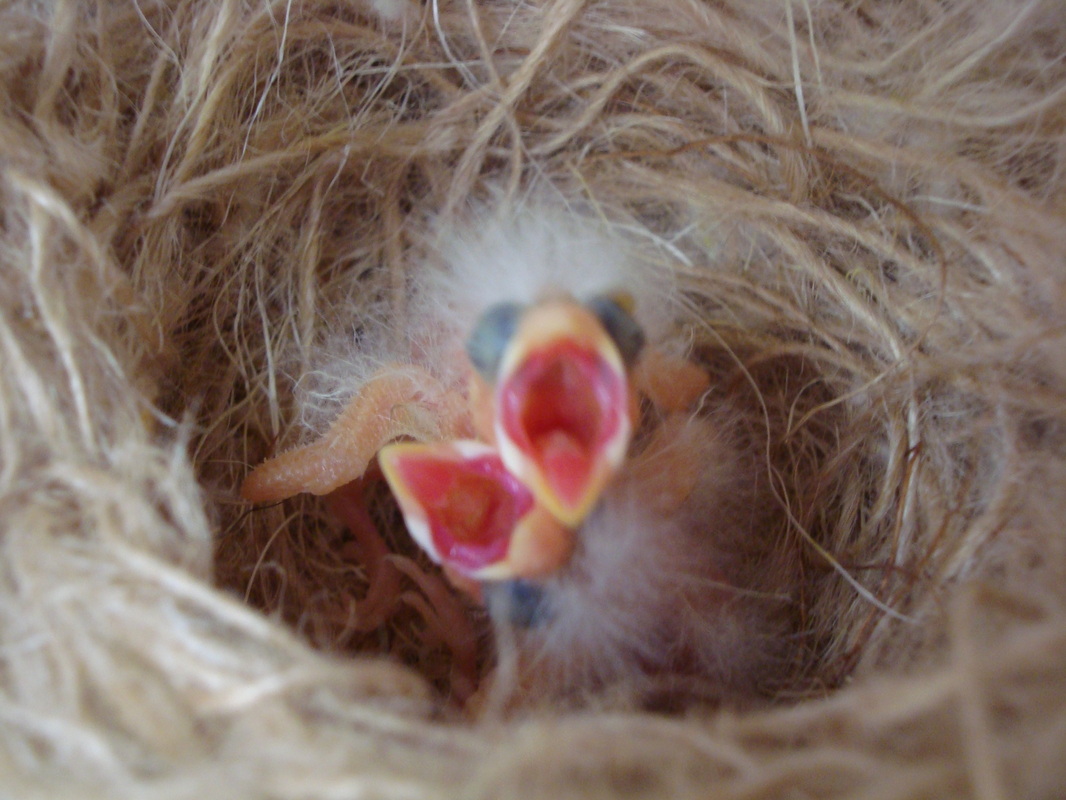
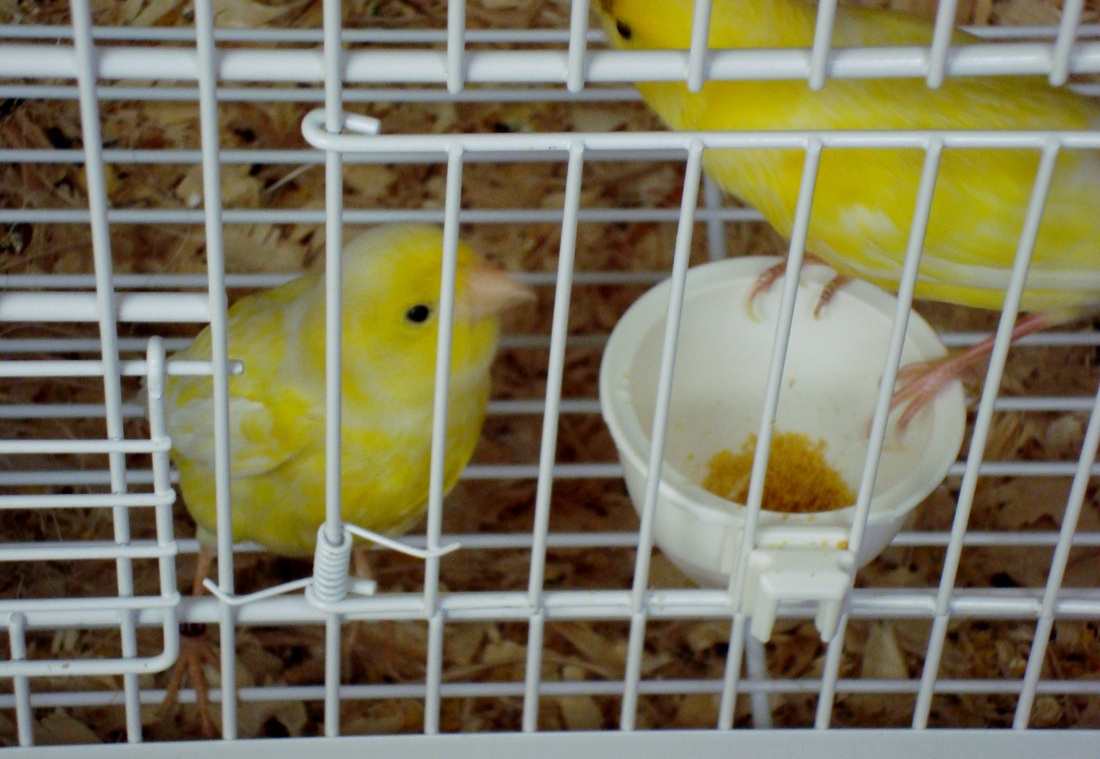
In addition to ensuring that the adult canaries receive proper nutrition you also must be prepared to provide food to the chicks. Soft food is the staple diet for rearing canary chicks. This is a combination of egg food, soak seed and fresh produce (preferably dark greens rich in iron). While maintaining clean food dishes and water drippers is important throughout the year, it is especially critical while babies are present due to their small, sensitive stomachs. In addition food should be changed frequently to avoid spoilage.
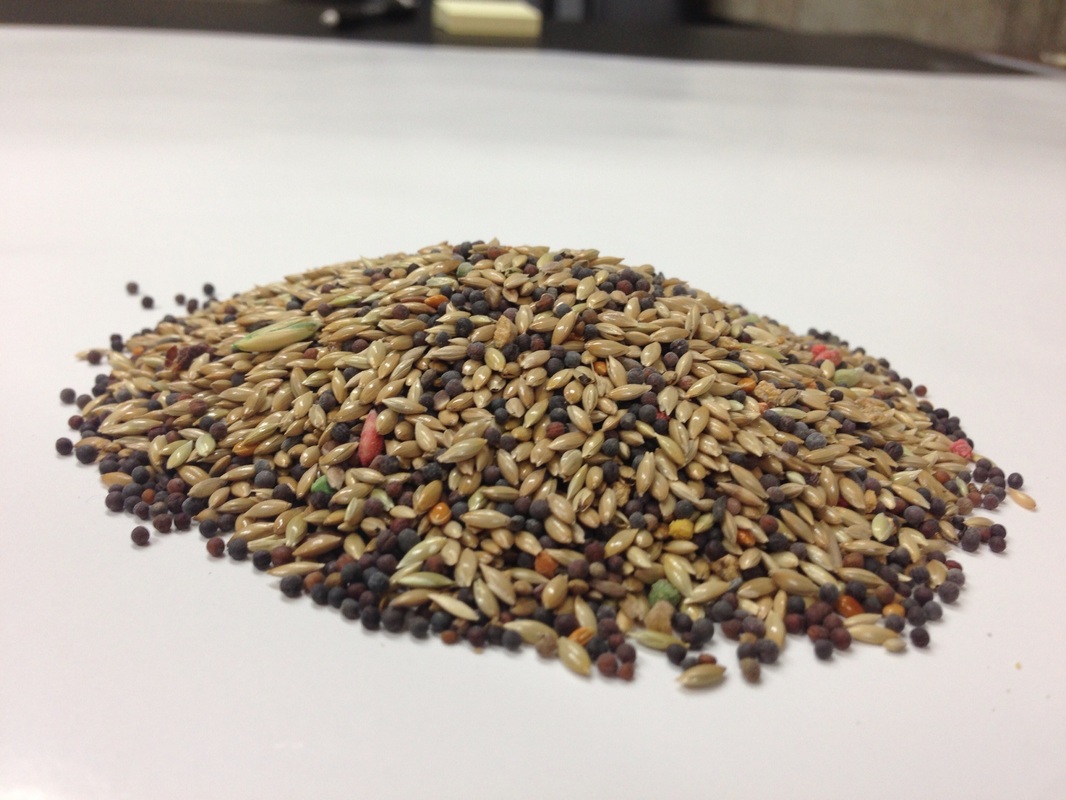
Soak seed is an assorted mixture of sprouting seeds. The seed is soaked for approx. 12 hours, rinsed and then re-soaked for an additional 12 hours. Following that allow the seed to sprout for the next 24hours.
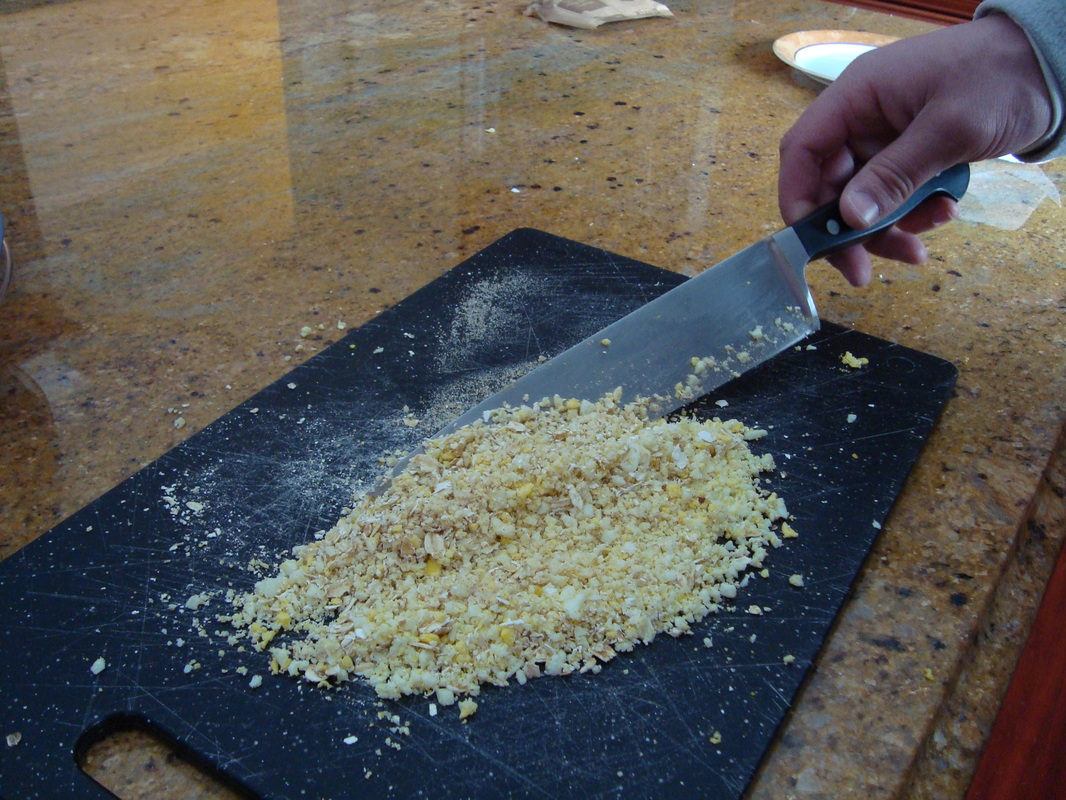
Egg Food or Nestling Food can either be purchased, homemade or a combination of both. Egg food that is prepackaged is basically a dry mix that you need to add moisture to. This will make it soft enough for a baby to chew and digest. Other homemade versions can be made with various components such as chopped boiled eggs with shells, grated carrots, oats, wheat germ etc.
Soak seed and Egg food are typically used together to help support the parents in feeding their chicks a balanced diet.
Vegetables and fruits help to avoid any deficiencies during breeding and provide the same benefits to the birds, as they do to humans. For more information regarding a nutritional diet please click to the image to the left.
In addition to ensuring that the adult canaries receive proper nutrition you also must be prepared to provide food to the chicks. Soft food is the staple diet for rearing canary chicks. This is a combination of egg food, soak seed and fresh produce (preferably dark greens rich in iron). While maintaining clean food dishes and water drippers is important throughout the year, it is especially critical while babies are present due to their small, sensitive stomachs. In addition food should be changed frequently to avoid spoilage.
Soak seed is an assorted mixture of sprouting seeds. The seed is soaked for approx. 12 hours, rinsed and then re-soaked for an additional 12 hours. Following that allow the seed to sprout for the next 24hours.
Egg Food or Nestling Food can either be purchased, homemade or a combination of both. Egg food that is prepackaged is basically a dry mix that you need to add moisture to. This will make it soft enough for a baby to chew and digest. Other homemade versions can be made with various components such as chopped boiled eggs with shells, grated carrots, oats, wheat germ etc.
Soak seed and Egg food are typically used together to help support the parents in feeding their chicks a balanced diet.


Record Keeping
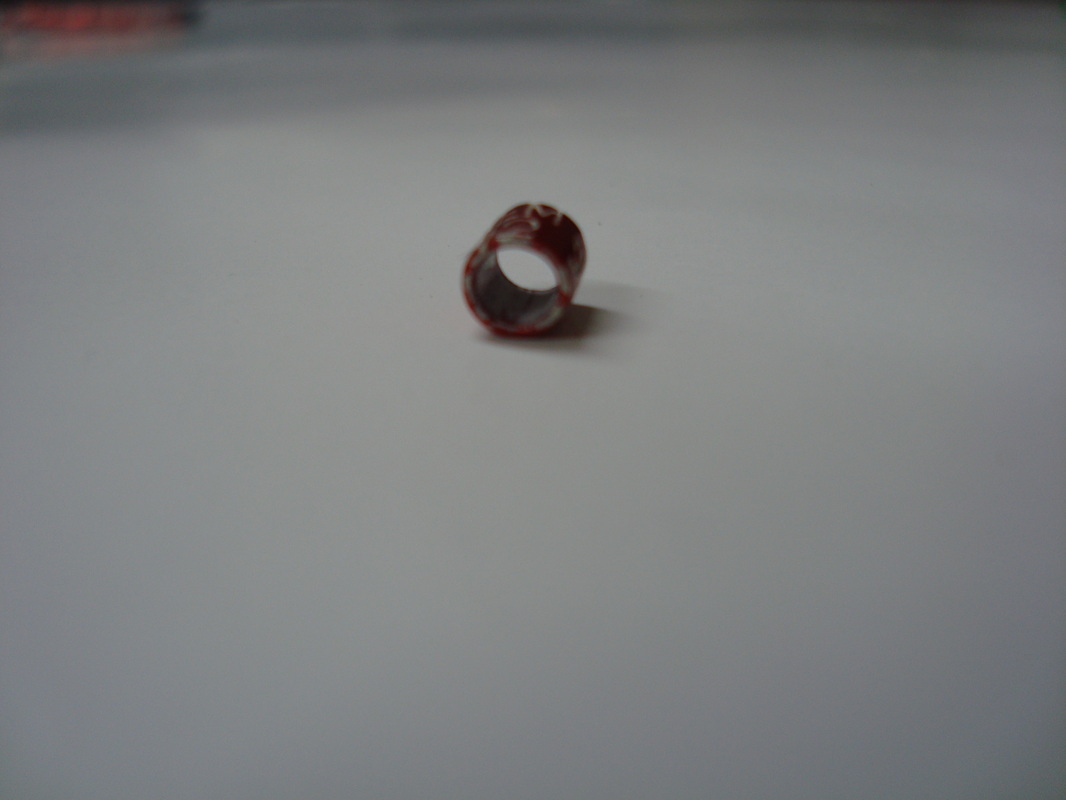
Record keeping in the bird room can alleviate a lot of stress when it comes to keeping track of your pairs and their
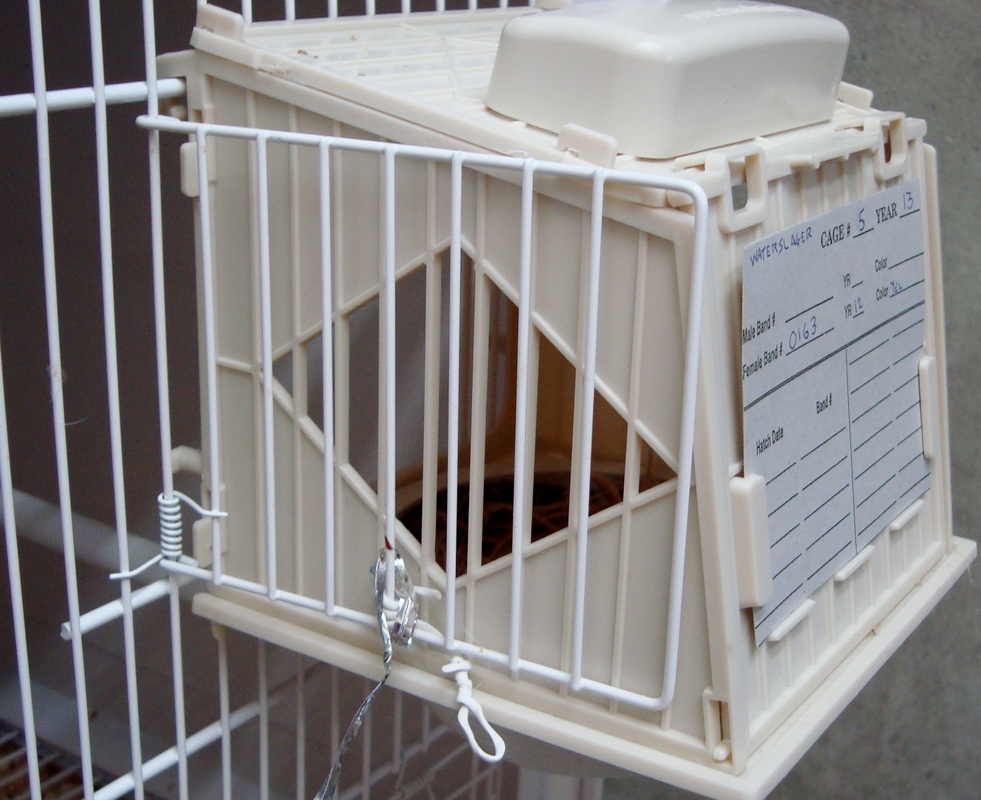
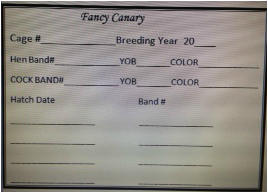
clutches. Of course a lot is going to depend on the level and volume of breeding you do. Someone looking to show their birds may want to have a more in depth system than those just enjoying it as a hobby. It is highly recommended that you adopt a system that works for you. I like to use magnetic strips that attach easily to the outside of my cages. This makes tracking the birds by gender/type/band #/lineage very simple and efficient without costing a lot of money. These strips can be picked up at your local craft shop. Cage cards are used to track the dates eggs are laid, hatched, fertile eggs/unfertile eggs, etc. Every breeder uses a slightly different version depending on the individual’s needs.
Record keeping in the bird room can alleviate a lot of stress when it comes to keeping track of your pairs and their
clutches. Of course a lot is going to depend on the level and volume of breeding you do. Someone looking to show their birds may want to have a more in depth system than those just enjoying it as a hobby. It is highly recommended that you adopt a system that works for you. I like to use magnetic strips that attach easily to the outside of my cages. This makes tracking the birds by gender/type/band #/lineage very simple and efficient without costing a lot of money. These strips can be picked up at your local craft shop. Cage cards are used to track the dates eggs are laid, hatched, fertile eggs/unfertile eggs, etc. Every breeder uses a slightly different version depending on the individual’s needs.
Signs of Readiness
While no two hens or cocks are the same, you will begin to see signs that your birds are in breeding condition as the daylight lengthens. They may include all of the signs below or perhaps only one or two. There is no way of telling how successful a clutch will be based on pre breeding behaviors.
Signs of hens in breeding condition
Shredding paper
Restless flying back and forth, calling to males
Carrying nesting materials and bits of bedding towards the back of the beak
Increased squabbling in the flight cage
Squatting when cock sings
Signs of cocks in breeding condition
Vigorously singing a louder and harsher song, known as the breeding song
Feeding the hen through the wire divider in the double breeder cage
Gradual Introduction of the Pair

The process of introducing your birds should be a gradual endeavor in order to hopefully avoid
conflict and aggression between the birds. To begin the Cock and Hen are placed in a double breeder cage with solid divider separating them throughout the year up until the breeding season approaches. About two weeks prior to your lighting schedule hitting 12 to 13hrs, you should pull the solid divider and replace it with a wire grate divider allowing the hen and cock the chance to get to know each and essentially “flirt.” You may see “kissing” between the bars and this is a great sign that they are getting along. Approximately one week after the hen is provided with a nest pan and nestling material so she can begin to build her nest. The hen is ready to mate upon completion of her nest and the cock can be introduced by removing the dividing grate.
conflict and aggression between the birds. To begin the Cock and Hen are placed in a double breeder cage with solid divider separating them throughout the year up until the breeding season approaches. About two weeks prior to your lighting schedule hitting 12 to 13hrs, you should pull the solid divider and replace it with a wire grate divider allowing the hen and cock the chance to get to know each and essentially “flirt.” You may see “kissing” between the bars and this is a great sign that they are getting along. Approximately one week after the hen is provided with a nest pan and nestling material so she can begin to build her nest. The hen is ready to mate upon completion of her nest and the cock can be introduced by removing the dividing grate.
Surviving the Molt
Parallel to canaries in their natural environment, caged canaries also experience a molt. The molt is brought on in preparation for the winter months. Birds will replace their plumage for brand new feathers. This time can be just as stressful on the breeders as it is on the birds if not prepared.
Molting occurs when baby chicks are somewhere around eight-ten weeks old. They are often referred to as "Unflighted Birds" because they do not lose their tail or wing feathers during this first molt. During this time you should expect to see some signs of stress. For example male chicks will not sing and the overall activity of the bird will quiet down. It can take up to ten weeks for the molt to taper off, at which point the bird will return back to its normal self. It is important to continue feeding the nestling food and soak seed.
Mature birds will also go through a molt at the same time as their chicks. You can expect the birds to look a little sparse as they are losing their feathers in sections. Unlike their babies, adult birds lose all their feathers including their tale and wing. Not to worry though...Soon your birds will have a completed renewed plumage looking more beautiful than ever!
Once the urge of breeding has passed and the daylight hours are starting to shorten, cocks and hens can remain caged together for the remainder of the molt. That being said, it is extremely important to watch for overly aggressive behaviors that could result in bully tendencies such as plucking feathers from one another. If an aggressive bird is present it is vital that they are sequestered in order to avoid potential harm.
Daily maintenance is essential during the molt. New feathers mean new territory for unwanted guests like mites. Keeping a clean aviary/cage, routine sweeping and washing of the floors, and frequent baths will help prevent this from happening. If using artificial lighting it is often helpful to dim the lighting in order to help encourage the loss of feathers and let the birds know that the breeding season has ended.